Thursday, May 24, 2012

Fresh Chicken Stock (slow cooker)

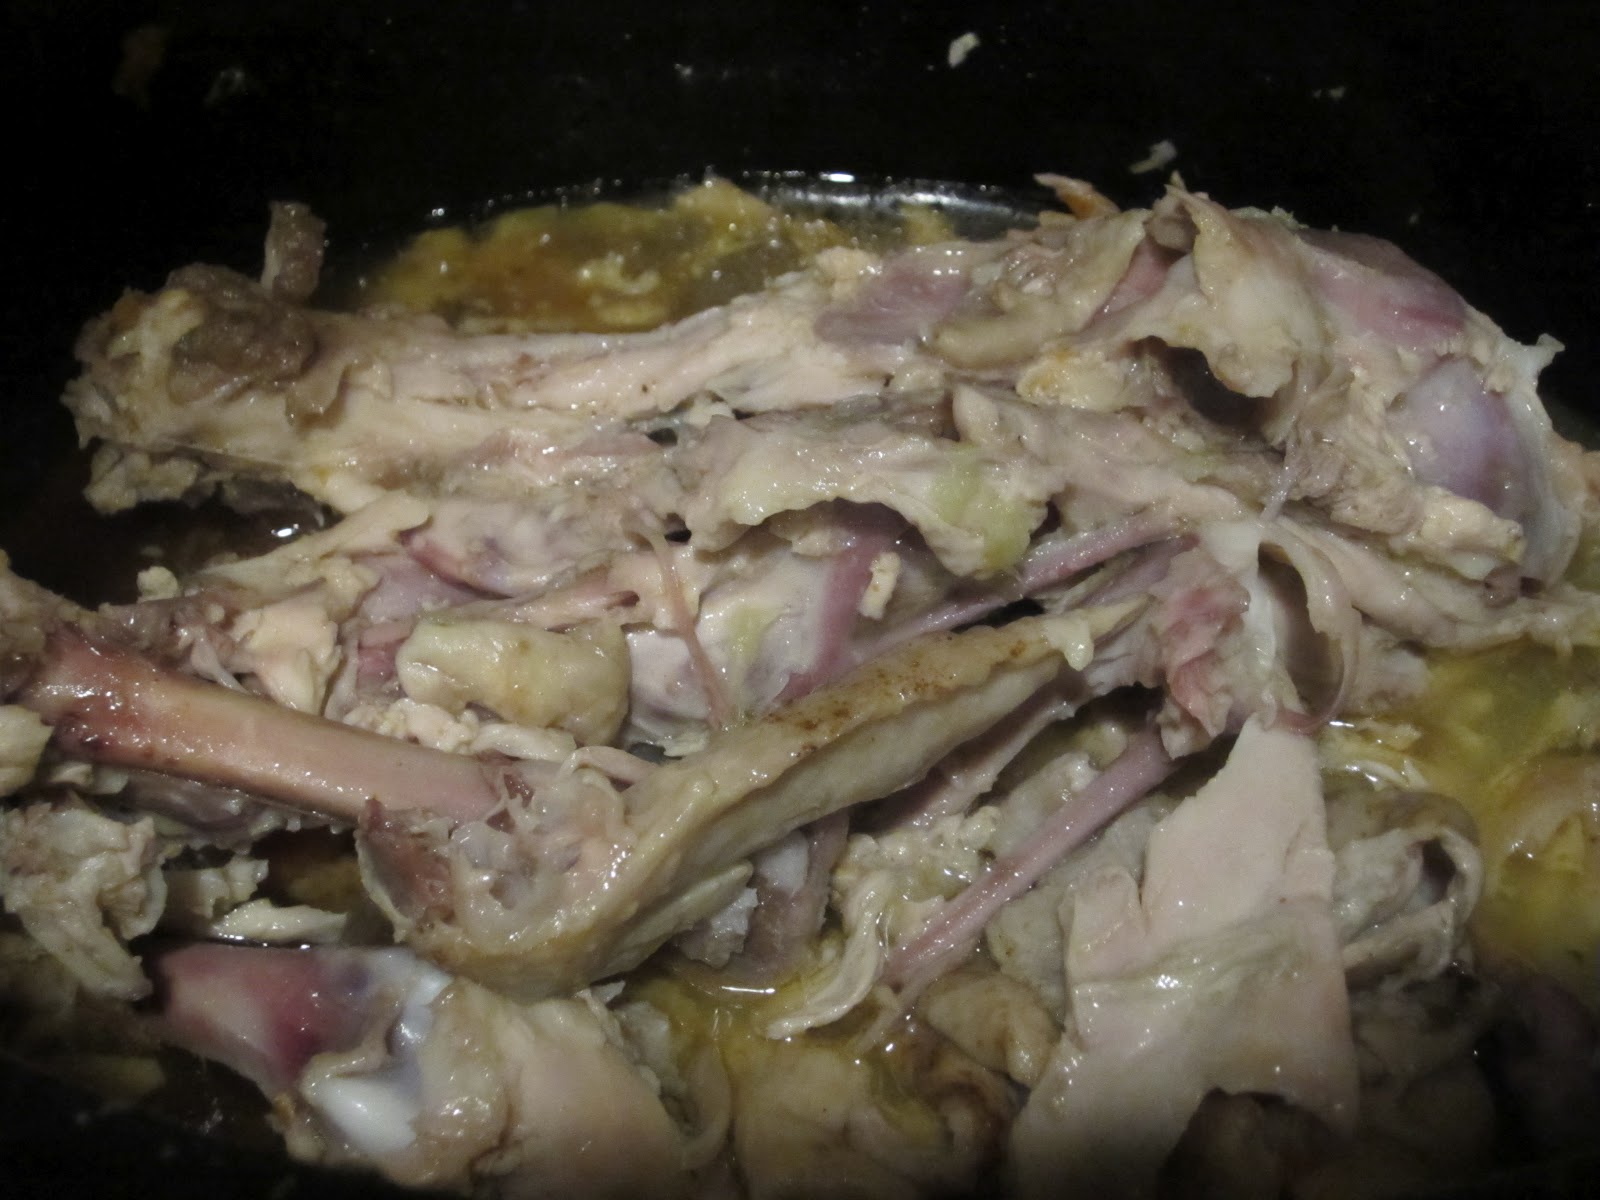
When I made the successful chicken in the crock-pot the other day, I had seen someone recommend throwing the bones, etc. back into the pot to make fresh broth or stock or whatever you like to call it. I figured this was a cool chance and not to be missed. So, after I ate dinner, I pulled all of the meat off of the chicken carcass (as some call it) and put all of the bones, skin, etc back in the pot. Well, not quite true, I was looking at the bones and said aloud "whoa, look at its spine, that's cool." Mr. More Calories glanced at it and said "that's gross," in a very matter-of-fact kind of way. I still think it was cool, but decided not to take a picture. The recipe follows for you. This can be used in anything that calls for chicken broth or stock or bouillon or whatever you prefer to call it.

I am missing a lot of kitchen tools right now because I lived in a place that had everything for 3 years and am now in the process of getting my own. Fun, but slow so far. I used a colander instead of a proper mesh strainer, so my broth remains pretty... colorful. That's ok with me, but I'm getting a strainer next because it's not always good.

One word of caution, though - that stuff is HOT when it's done! I know that's obvious, but crock pots are not meant for pouring. That means when you go to strain out the bits, be careful. I had to re-wash my counter. And a patch of floor. And 'got' to feel how hot it really gets. Just be careful.


Fresh Chicken Stock in the slow cooker
Prep time: 10 minutes
Cook time: 8-24 hours
Makes: about 5 cups

Ingredients:
Inedible bits from 1 chicken
3 cups water

1. Make sure your chicken meat is all pulled off of the bone. You don't want to lose any of the stuff you can eat as-is!
No water added, just the chicken's own juices from cooking.

2. Put all bones, skin, etc. in the insert (the 'pot' part). Add 3 cups water.


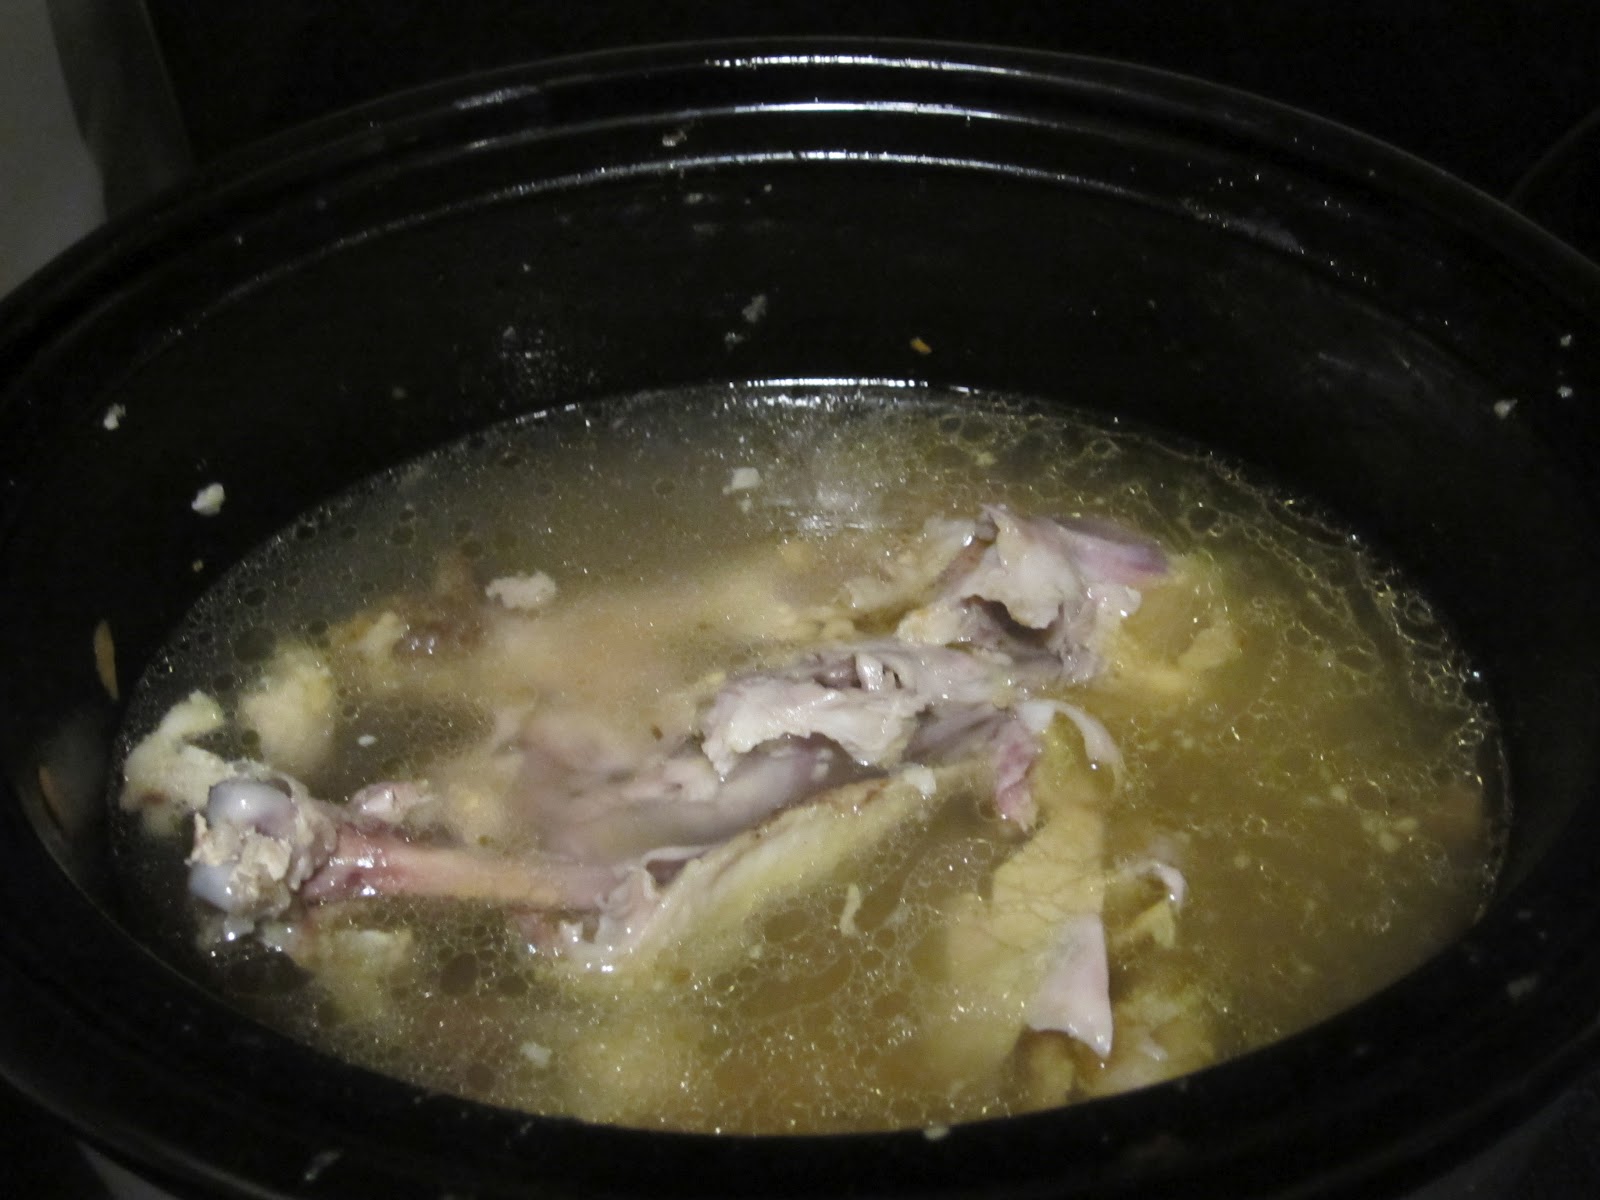
3. Turn on crockpot to low (or simmer, depending on your cooker) for 8-24 hours depending on your patience and time available.

Pot after 24 hours
4. When it's done cooking, strain in a fine strainer, lined with cheesecloth if you really want all of the little stuff out.

Mine has a ton of floaty stuff because I don't have a strainer right now.

5. Put stock in a covered container in the fridge. The next day, skim off all of the fat that will rise to the top.

6. Use in your favorite recipe!

I actually don't have a strainer yet. And my cheesecloth is trapped in a cabinet in the construction zone. So I used a colander and will need to re-strain it to use it. I think I might make rice. Or Potatoes. Oooh, or soup. Yes, soup, that's it.

This is what was left over after the stock was strained off.

Tuesday, May 22, 2012

Crockpot Chicken

I don't eat very much meat because I care too much about where it comes from. No matter what kind of chicken you're buying, a whole chicken costs about half as much per pound as the boneless, skinless breasts that have become standard fare for most of us. But whole chickens scare me. Or used to. I decided to take the plunge and just try a whole chicken with my new friend (a 3.5 quart programmable crockpot.) 

It was actually really easy! The hardest part was checking to make sure if there was a plastic bag of nasty bits inside (mine didn't have any.) From start to finish, including taking the ingredients out of the fridge and peeling my sweet potatoes with a paring knife it took me 23 minutes (must buy vegetable peeler!)

One of the cool things about this to me is that it was amazingly easy and will feed us (me & Mr. More Calories) for a few meals. More on that to come!

Crockpot Whole Chicken
Serves: 6 (chicken) or 2 (with sweet potatoes for dinner)
20 minute prep, 7 hours to cook

Ingredients:
1 whole chicken (mine was 3.5 lbs)
2 small sweet potatoes (about 1 pound)
1 medium onion (about 1 cup)
2 teaspoons poultry seasoning or rub (really, anything you like!)

1. Peel the sweet potatoes. Chop about 1/2-inch thick. Put in the bottom of the slow cooker.
2. Peel the onion and cut into thick wedges. Place on top of the sweet potato.


3. Take the chicken out of its plastic, make sure there aren't any surprises in the cavity (and if there are, ask someone else what to do with them!) I didn't even take off the skin. I'm not going to eat it, but it was easy and it will make a tasty stock. Rub with the poultry rub or seasoning and stick on top of the potatoes and onion.


4. Turn on the pot to low (recommended by my cooker for meats for long times, check your instruction manual to be sure!) and cook for 7 hours. This is what it will look like when it's done:


You see the liquid down there on the right? It's all from the chicken and vegetables, there was no liquid added. Big difference between cooked and uncooked, right? Ok, no, well here it is on a plate with some salad for my dinner. I went back for more sweet potatoes. And I know the onions aren't prettiest. At least they tasted good.


Thursday, May 17, 2012

Apricot Almond Butter Oatmeal

I have been mostly gone for the last two years because I am a grad student (although I have been since I started this blog) and moved into a house of 100 students. I say house because we are all responsible for making sure the house runs smoothly - cooking, cleaning, discipline, all of it! For the first year, I was just any other student there, but for my second and third year, I was in charge of lunches and dinners. No, I didn't make them all. In fact, I helped actually make very few. I did find the recipes, translate them into 'new cook' and scale them to the proper size to feed hungry college students. After the dinners, I would sometimes need to check in with the cooks and make my version of 'new cook' match the reality.

One of the biggest things I learned was how intimidating cooking can be for some people. Some of my earliest memories are pulling out drawers in the kitchen to make stairs for me to climb up and stir a pot when my mom was on the phone (and I just realized how absolutely crazy that sounds on so many levels!) There's also a great story of helping with banana bread... but maybe another day. The thing is, I didn't realize how foreign a kitchen could be to others, that to some the freezer is a logical place to look for olives, that 'lentils' and 'split peas' are completely unknown, or that some don't see the point in measuring -- ever.

With this new information in hand, I return to my blog. I am moving out of my giant house this summer and hope to find time to continue here in the fall once teaching, learning, and research begin again in a structured way.

On to the oatmeal! I looove oatmeal. I used to it eat twice a day according to my little sister. She's probably not the best authority, and definitely at ramen twice a day for years. It's super quick, it's tasty (when done right!) and is also nutritional and filling with the right extras added in. I found out when a house mate had some extra almond butter, and my peanut butter ran out, that it is absolutely delicious in oatmeal! Like it was meant to be. So here it is for you.


Apricot Almond Butter Oatmeal
1 serving, 3 minute prep time


1/2 cup old-fashioned oats*
water
5 dried apricots
1 tablespoon almond butter
1 teaspoon honey (optional)
* - for me, this is about two handfuls. It's easier than trying to measure it :)

Start out by putting the oats into a microwave-safe bowl that holds at least 2 cups (big to avoid spilling over and making a mess in the microwave. 3 or 4 cup is fine, I make mine in the pyrex measuring cup.)

Add water. I add to just above the oats. This makes thick oatmeal. More water means thinner oatmeal.

Microwave on high for 90 seconds.

While it's microwaving, chop up the apricots. (I just tore them up by hand, but ended up wishing the pieces were smaller.)


When done, add apricots, almond butter and honey to the dish. Stir. Enjoy!

Nutritional information (with honey): 357 calories, 13g fat, 55.5g carbs, 10g protein
Nutritional information (no honey): 335 calories, 13g fat, 50g carbs, 10g protein

Wednesday, August 3, 2011

Still not updating... but one day, really!

I am looking for recipes to use at my building and am going through a site that I will not name, in order to try to be nice. Its 'Easy Dinner Recipes" should sometimes be named "How to kill your family slowly." Like the recipe that says to wrap kielbasa in bacon, then sprinkle brown sugar all over it. And serve with mashed potatoes. Wow, for seriously people???

So, one day, somewhere in the who-knows-how-distant-future, I will return. Because good food can be good for you, too. My own preferences can help others. And that would be cool.

Friday, June 3, 2011

PLEASE make these for me. And tell me how they are.

Seriously. I'm gone for 10 weeks, but this sounds like such a wonderfully fantastic idea. I swear this woman has my exact taste in foods, I want to make everything from her blog. But especially this. But where can I find TVP in Morocco??? That's right, I can't.

http://www.carascravings.com/2011/05/no-bake-cookies-vegan-high-protein.html

Monday, May 2, 2011

April Daring Bakers Challenge: Maple Mousse in an edible container

The April 2011 Daring Bakers’ challenge was hosted by Evelyne of the blog Cheap Ethnic Eatz. Evelyne chose to challenge everyone to make a maple mousse in an edible container. Prizes are being awarded to the most creative edible container and filling, so vote on your favorite from April 27th to May 27th at http://thedaringkitchen.com!

(Mine won't be there because I finished it late. And then I posted it to the wrong blog yesterday. Nice job, me!)

I made the vegan tofu mousse. Except that I couldn't find agar agar (the gelatin replacement) so it's just non-dairy, not really vegan. I'm not sure how it's supposed to work, but I found that the tofu flavor really overpowered the maple, unfortunately.


I decided that my edible container would be this really cool baked mochi that I found at Wheatsville. It looked tasty, and it is! I think I like it best plain.

Vegan Maple Mousse (I recommend taking this only as a starting point):

Ingredients:
• 1 package (12 oz.) soft silken tofu
• ¾ cup (14 fluid oz.) pure maple syrup
• 2 tsp agar-agar

Directions:
1. Let tofu come to room temperature. Using a food processor, blender, or hand mixer, blend tofu until just smooth.
2. Sprinkle agar-agar on the maple syrup and let it rest for 10 minutes. Heat maple syrup on the stove to a boil and then let it simmer 5 minutes until the agar-agar has dissolved.
3. In a food processor, blender, or a large bowl, blend the tofu with the maple syrup until creamy.
4. Refrigerate for at least one hour. Remove from the fridge and divide among your edible containers.

Tuesday, March 1, 2011

Lazy Granola

I'm copying this directly from my friend Safire's blog. 
--------------
Lazy Granola

1/2 c brown sugar
1/2 c oil
1/2 c honey
2 tsp cinnamon
2 tsp vanilla
7 c oats
Mix the honey, oil and vanilla in a small saucepan until they are all melted.  (I always forget this step and it turns out fine.)  In a separate bowl combine the dry ingredients.  Pour the honey mixture over the oat mixture and stir until combined.  Spread out on a greased 9×12 pan and cook for 10 min at 375 degrees.  Take it out of the oven and stir it.  Return it to the oven and then turn the oven off and it let sit overnight.  Wake up to a yummy breakfast and a house that smells amazing!

You can add a whole bunch of stuff to this to make it even better.  I always use coconut oil and it gives it a very sweet flavor, but canola oil works fine too.  You can add almonds, cashews, or any kind of nut that you wish.  Shredded coconut, raisins, chopped dates, flax seed, and sunflower seeds.
------------------
I made this a week ago and have been loving it ever since.  I sprang for coconut oil, which my child somehow manged to make fall out of the cupboard, a couple days later, wasting $8.09 but I had everything else in the house. I could have used canola oil, I had that at home. I added wheat germ to mine, it's so yummy, the kids can't tell it's healthy.

Sunday, February 27, 2011

Daring Bakers February: Panna Cotta and Florentine Cookies

The February 2011 Daring Bakers’ challenge was hosted by Mallory from A Sofa in the Kitchen. She chose to challenge everyone to make Panna Cotta from a Giada De Laurentiis recipe and Nestle Florentine Cookies.

Well, it has finally happened. Something I never expected. Something I didn't even think possible. Something I would have never imagined as a possibility.

I found a dessert I don't like.

Not just, "oh, this could use X" or "Next time I'll do Y." No, it was a, "what did I just put into my mouth??" moment. I actually warned my first taster that I thought it went horribly wrong.... and was told it was perfect, exactly what it should taste like. Apparently, Panna Cotta is not my thing. Luckily, plenty of other people around thought it was wonderful and amazing, if rather rich, and it was all eaten. Just thinking about it again kinda makes my stomach turn.

HOWEVER, it is apparently a great recipe... if you go for that kind of thing! I've got an experimental non-dairy chocolate version in the fridge... it tastes delicious, so we'll see if it solidifies nicely! At the least it would be good frozen.

Traditional Panna Cotta - Recipe from Giada de Laurentis


Ingredients
1 cup (240 ml) whole milk
1 tablespoon (one packet) (15 ml) (7 gm) (¼ oz) unflavored powdered gelatin
3 cups (720 ml) whipping cream (30+% butterfat)
1/3 cup (80 ml) honey
1 tablespoon (15 ml) (15 gm) (½ oz) granulated sugar
pinch of salt

Directions:
1. Pour the milk into a bowl or pot and sprinkle gelatin evenly and thinly over the milk (make sure the bowl/pot is cold by placing the bowl/pot in the refrigerator for a few minutes before you start making the Panna Cotta). Let stand for 5 minutes to soften the gelatin.
2. Pour the milk into the saucepan/pot and place over medium heat on the stove. Heat this mixture until it is hot, but not boiling, about five minutes. (I whisk it a few times at this stage).
3. Next, add the cream, honey, sugar, and pinch of salt. Making sure the mixture doesn't boil, continue to heat and stir occasionally until the sugar and honey have dissolved 5-7 minutes.
4. Remove from heat, allow it to sit for a few minutes to cool slightly. Then pour into the glass or ramekin.
5. Refrigerate at least 6 hours or overnight. Add garnishes and serve.
The second recipe from this month was a cookie that reminds me of a Lacey - lots of butter, not many 'solid' ingredients. They were super quick and easy!

Nestle Florentine Cookies

Ingredients:
2/3 cup (160 ml) (150 gm) (5.3 oz) unsalted butter
2 cups (480 ml) (160 gm) (5 2/3 oz) quick oats
1 cup (240 ml) (230 gm) (8 oz) granulated sugar
2/3 cup (160 ml) (95 gm) (3⅓ oz) plain (all purpose) flour
1/4 cup (60 ml) dark corn syrup
1/4 cup (60 ml) whole milk
1 tsp (5 ml) vanilla extract
pinch of salt
1½ cups (360 ml) (250 gm) (9 oz) dark or milk chocolate

Directions:
- Preheat oven to moderately hot 375°F (190°C) (gas mark 5). Prepare your baking sheet with silpat or parchment paper.
- Melt butter in a medium saucepan, then remove from the heat.
- To the melted butter add oats, sugar, flour, corn syrup, milk, vanilla, and salt. Mix well. Drop a tablespoon full, three inches (75 mm) apart, onto your prepared baking sheet. Flatten slightly with the back of your tablespoon, or use a spatula.
- Bake in preheated oven for 6-8 minutes, until cookies are golden brown. Cool completely on the baking sheets.
I skipped the extra chocolate part [- While the cookies are cooling melt your chocolate until smooth either in the microwave (1 1/2 minutes), or stovetop (in a double boiler, or a bowl that fits atop a saucepan filled with a bit of water, being sure the water doesn't touch the bottom of the bowl).]
- Peel the cookies from the silpat or parchment and place face down on a wire rack set over a sheet of wax/parchment paper (to keep counters clean).
I skipped the extra chocolate part [- Spread a tablespoon of chocolate on the bottom/flat side of your cookie, sandwiching another (flat end) cookie atop the chocolate.]

Saturday, January 22, 2011

My big return... I hope!

Well, I realized something. Or re-realized it, more accurately. One of my housemates, who moved out this semester to work in another city, emailed me asking for menus from our building so that he can make himself some good food. All of the house recipes are meant for 60-90 people (depending on whether it was lunch or dinner.) Clearly, that's not quite what you would make at home. So what should I be doing? Typing up the family-sized versions and putting it here! Obviously not of everything. That would take WAAAY too much time. But still, it double-dips with what I'm already doing and adds new stuff to share. And that makes me happy.

My first part of this is to point out some great resources you can use as-is. Or as-are. Whatever. Here we have King Ranch Casserole and Mexican Rice. A nice Tex-Mex dinner, when I added a side. And where did these fabulous recipes we use come from? One source, actually: Homesick Texan. I've also gotten a Kolache recipe and a great Flour Tortilla recipe from her.

Not being from Texas, or anywhere south, a lot of 'favorite' foods here are completely new to me. Collards? What, people actually eat those?? Turns out they're good! King Ranch Casserole was one that people enjoy that I had never heard of at all. So I went searching for a good recipe, preferring blogs as always. I came across a good recipe for King Ranch Casserole by Lisa. Warning: *not* the healthiest thing you'll eat. Another day, I wanted our great cooks to make tortillas because they're SOOO much better fresh. And she had it again: fresh flour tortillas. I found a few Mexican Rice recipes, but they all seemed... off. Where did I find the right one? Yep, from the Homesick Texan, good Mexican Rice.

Now, whenever I'm looking for a Texas favorite, I go to her first and it tends to work pretty well! It's true that I usually need to adjust a few things when multiplying a recipe by 10 or 12, but having a good place to start is great.

Tuesday, December 28, 2010

December Daring Bakers: Christmas Stollen

ok, sorry, I'm a day late here. I am visiting family and enjoying being done with my master's! Maybe I'm not sorry at all. Ok, nope, not sorry.

The 2010 December Daring Bakers’ challenge was hosted by Penny of Sweet Sadie’s Baking. She chose to challenge Daring Bakers’ to make Stollen. She adapted a friend’s family recipe and combined it with information from friends, techniques from Peter Reinhart’s book.........and Martha Stewart’s demonstration.

I had never heard of this before, but plenty of other daring bakers were excited about it. Apparently, it's traditionally made in the shape of a baby jesus in swaddling clothes. Anyone else a little grossed out by that one? K, just checking! I am in the middle of a card game, so just the pictures for now:


Enjoy!